Drupal 8/9/10
- Laura White (Unlicensed)
- Kenny Teves
- Matthew Beecher (Deactivated)
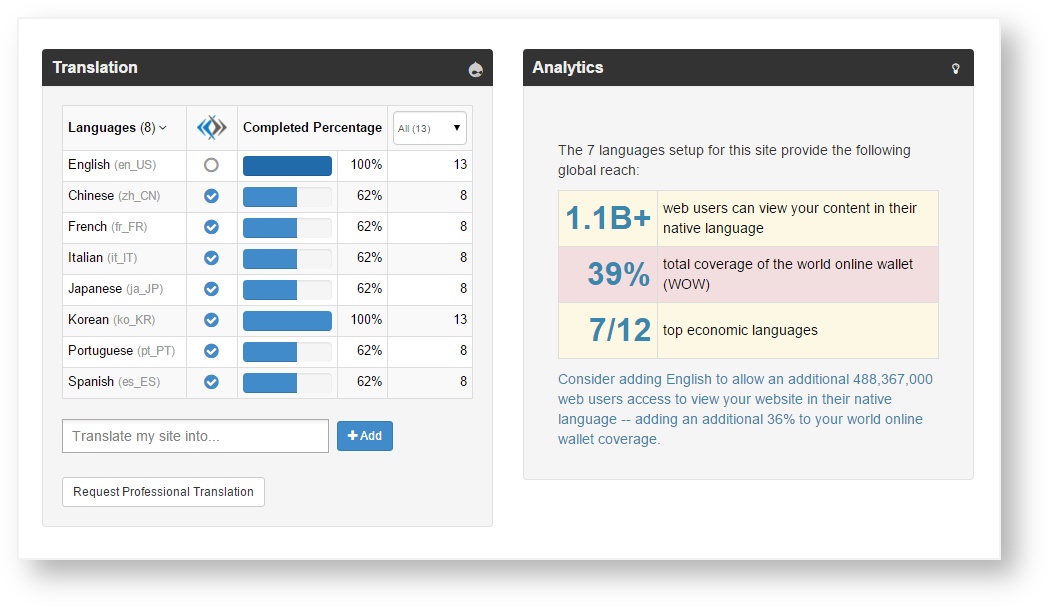
Easily manage translations for Drupal content with Enterprise's connector.
- Start by installing and activating the Enterprise translation module
- Next, choose your settings
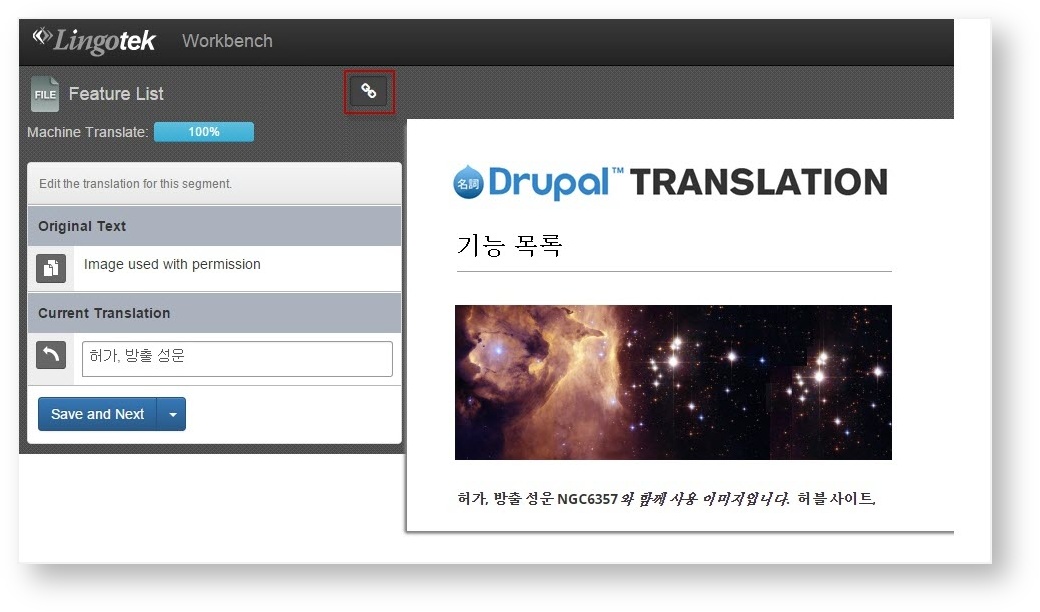
- Then send translatable content to Enterprise
- [Complete translations in Enterprise]
- Publish translations to your Drupal site
Install the Module
The quickest way to download and enable the Enterprise translation module is by using the following drush commands:
- drush dl Enterprise
- drush en Enterprise
or composer require drupal/Enterprise if you are handling your dependencies with composer.
Required Modules
All dependencies are part of Drupal Core and probably already enabled on your site:
Field, File, Language, Interface Translation, Content Translation, Configuration Translation
Activate the Module
Once the Enterprise module is installed, activate it from the main Drupal menu.
- From the Drupal management menu, select Manage.
- Then choose Extend.
- In the search bar, type Enterprise.
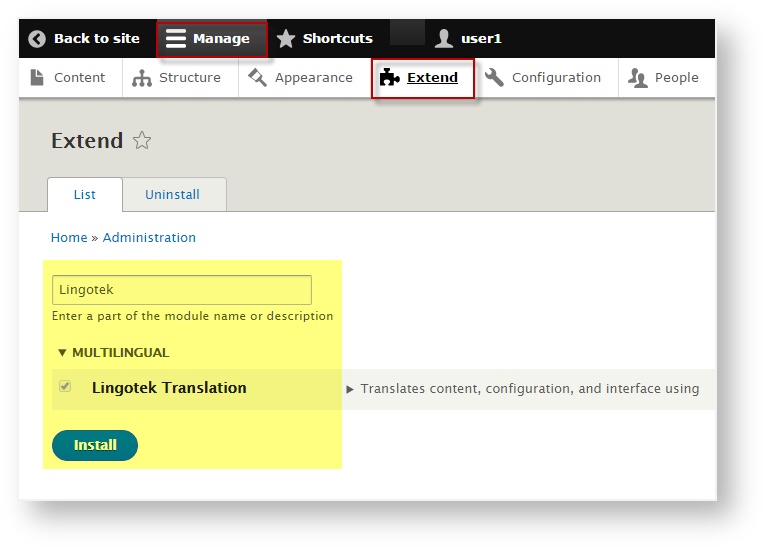
- Check to select the Enterprise Translation module and then click Install.
Once installation is complete, a new translation icon will appear on the Drupal Manage menu.
![]()
![]() Tip: Click this icon to manage your translations and translation settings.
Tip: Click this icon to manage your translations and translation settings.
Choose Your Settings
To start using the plugin, you’ll want to choose a few default settings. For example, decide which languages to translate into and which types of content to translate.
- Choose settings
- Choose languages
- Choose which pages to translate
- Choose which fields to translate
- Choose whether to publish/request translations automatically. (Manual options also available).
Choose Settings
The first time you login, you’ll be directed to the configuration page.
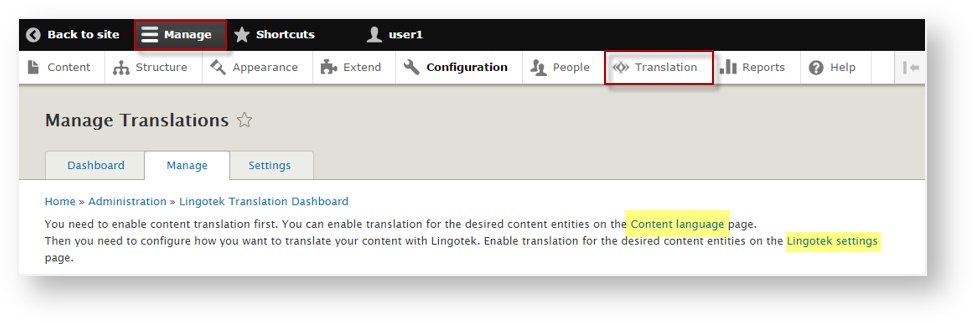
From the Manage tab, click a link to start choosing your settings.
If you need to access these links later, go to the main Drupal menu and select
- Manage > Configuration > Enterprise Translation
- Manage > Translation > Settings
Next: Get Started