Using the Connector (Liferay)
- Laura White (Unlicensed)
- Kenny Teves
Step 1
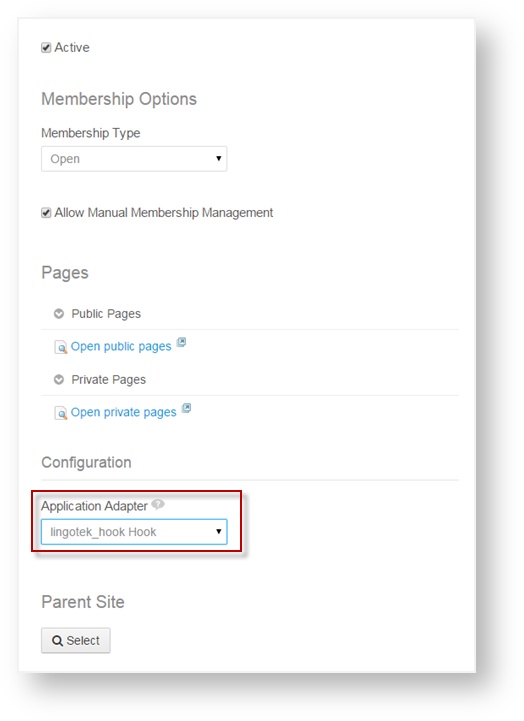
Enable the Enterprise hook on the Liferay site.
1) Go to Site Settings.
2) Under Application Adapter, scroll to select lingotek_hook.
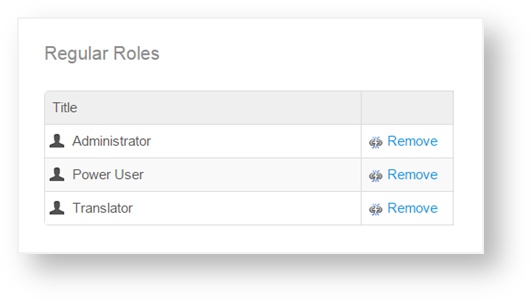
Create a Regular Role “Translator” and assign the Translator role to the user responsible for uploading content translation requests to Enterprise. The user should have the Translator Role as part of the Regular Roles as seen below.
Step 2
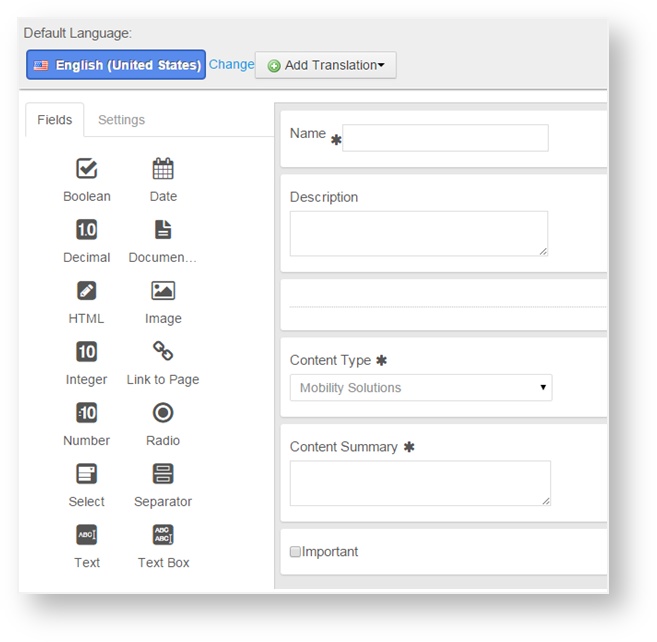
The example Liferay Web Content “Structure” we will use has the following fields.
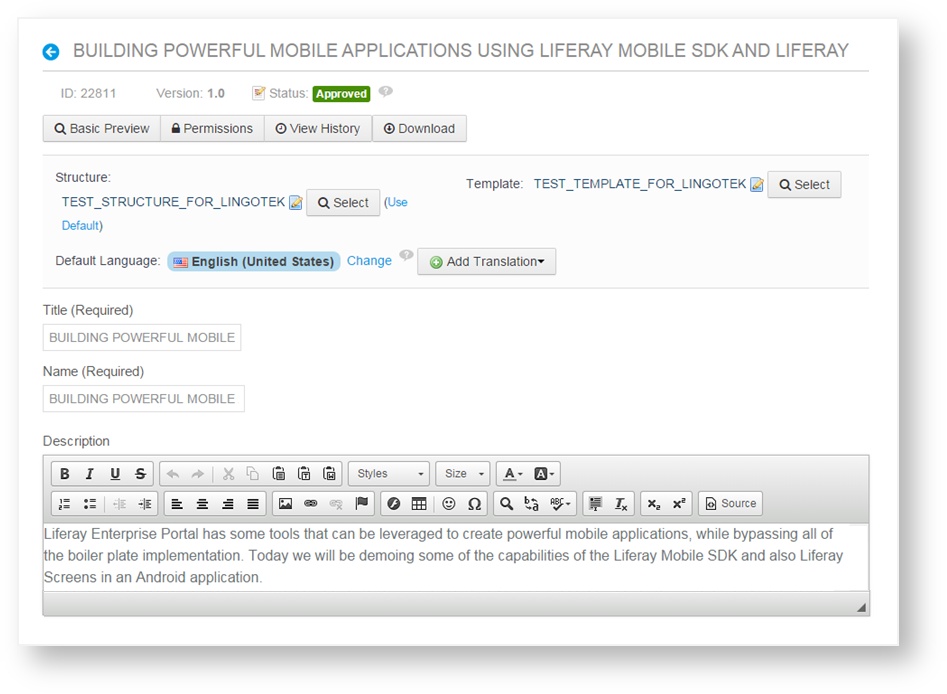
The example Liferay Web Content “Article” we will use for sending translation requests is shown below. The Article title is “Test Content for Integration.”
Step 3
Next, request a translation for the article by uploading it to Enterprise.
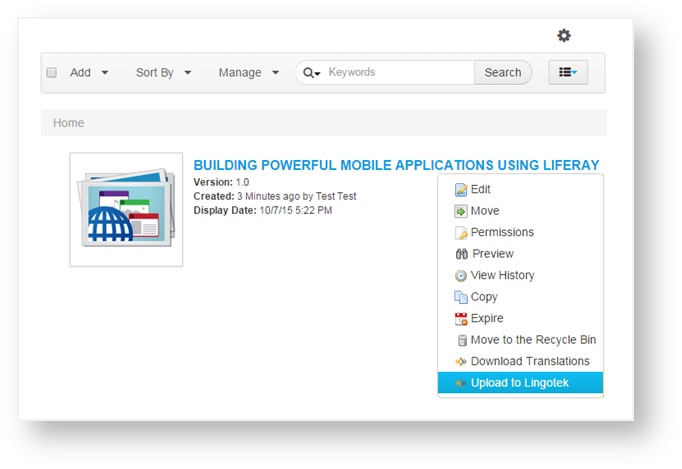
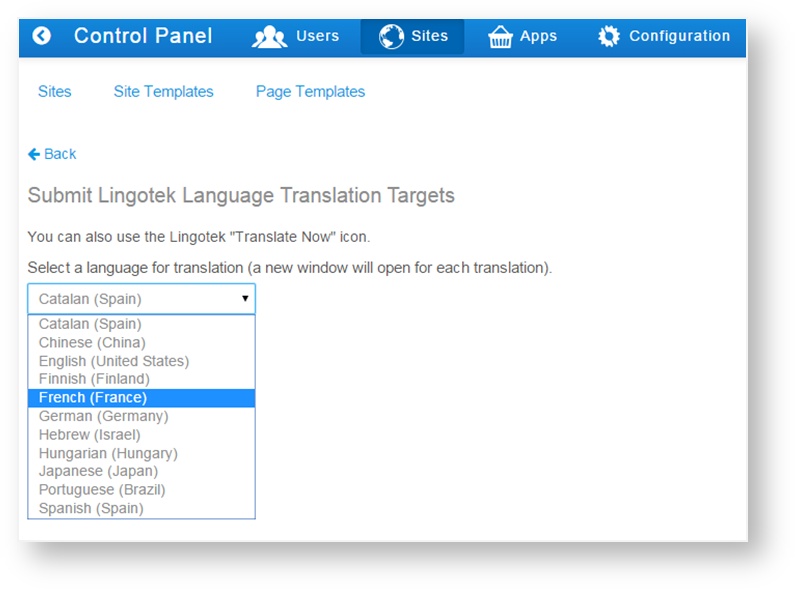
Step 4
In the dialog, select the language you wish to translate into.
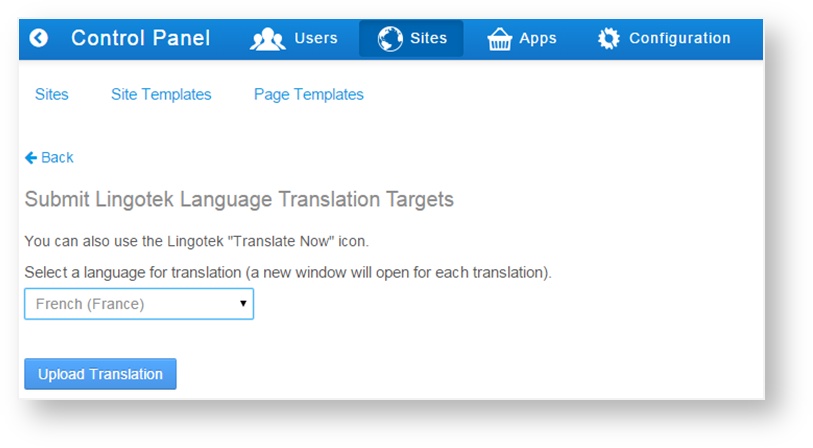
Click Upload Translation to submit the Translation Request.
Step 5
After uploading the translation, the Enterprise Workbench will open in a new browser tab.
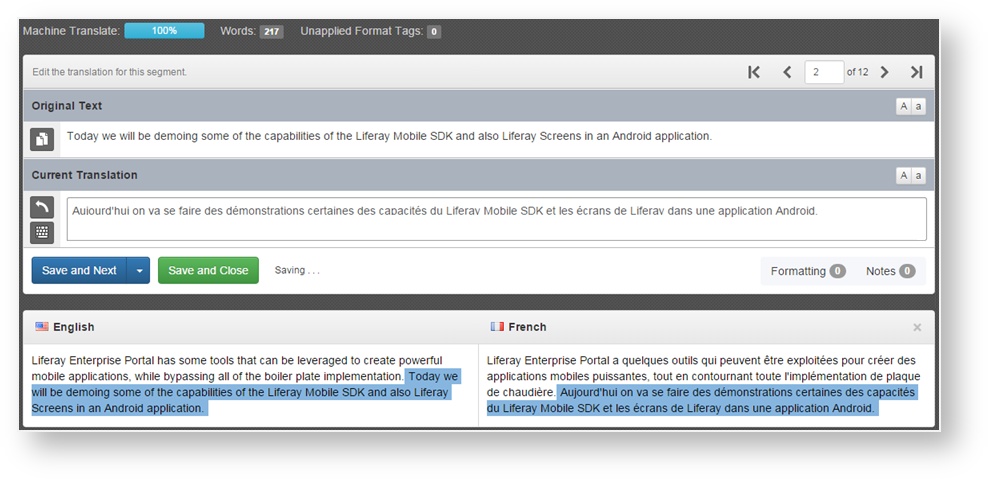
As you translate each segment, click Save and Next. When all translations are complete, the status bar will display 100%.
Step 6
Click “Save and Close” to close the browser tab and this will re-display the Liferay page.
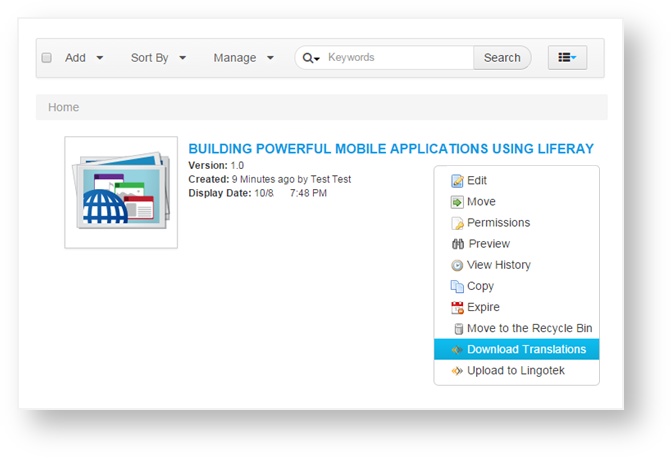
Click “Back” to go back to the Web Content Listing view. In the Web Content Listing view, select “Download Translations” to pull the translations from Enterprise and add them to the given article.
Step 7
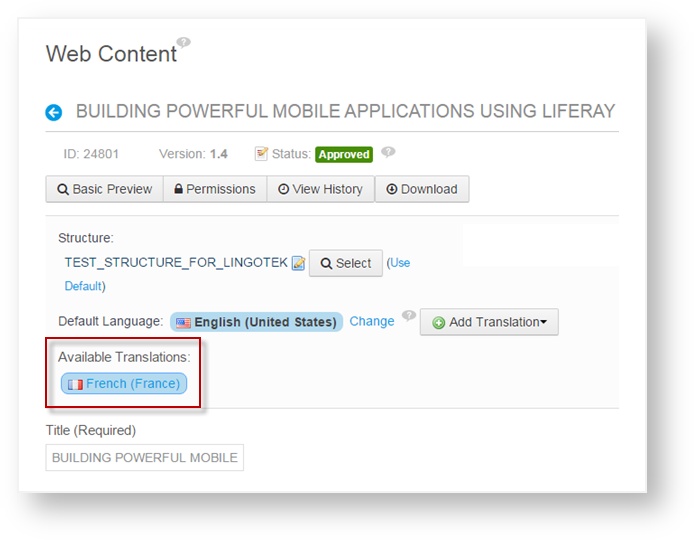
The merging of the translation request for “French” is shown below in the web content view. Click on the available translations to view the translated content for the given article.
Next: Translation Flow (Liferay)