Once documents are uploaded, PMs can add custom data to each document, including a due date, a custom filter, document metadata, etc.
Add Custom Filters
Lingotek automatically detects the file type and assigns a filter for each uploaded document automatically; however, if needed, PMs can select a custom filter for each document individually.
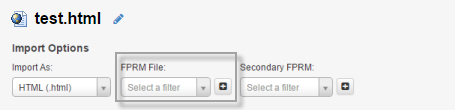
Scroll to select an existing filter or click the plus sign to upload a new filter.
Add Due Dates and Deadlines
Project managers can add a due date and a deadline to documents. Choose to apply a due date to a single document or to all documents in the upload.
Add a Due Date
![]()
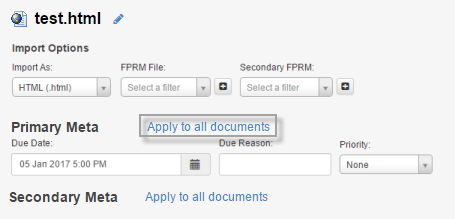
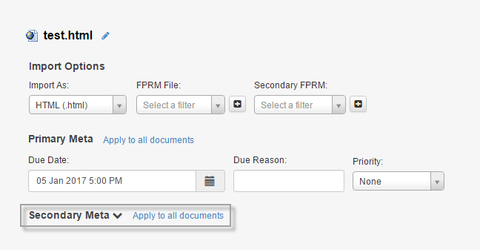
To add a due date, click the calendar icon below the document title. Click to select a date and then click off of the calendar to save the due date.To apply this due date to all documents, click Apply to all documents.
If you need to modify a due date for a document, or would like to set due dates by Target or Phase, see here.
Add a Deadline
By default, the project inherits the deadline timestamped on the document when the due date was set (e.g. 11:23 am). To add a different deadline (e.g. 5 PM), click the clock icon at the bottom of the calendar. Then select the desired deadline. Click off of the calendar to save your changes.
![]()
Time Zone Aware
Each user must choose a preferred time zone. (If no time zone is selected, Lingotek uses US-Pacific time).
All dates and times displayed throughout the system are based on the user's preferred time zone.
For example, if a California-based project manager sets a deadline of 5 pm US-Pacific time, a New York-based linguist would see the deadline as 8 pm US-Eastern time.
Edit, Remove Documents
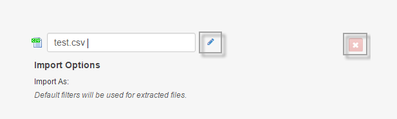
If needed, edit a document title or remove a document from the upload list.
Add Metadata
In addition to adding primary metadata to a document (e.g. due date, notes), a project manager can apply 15 metadata fields to a document, including Author Name, Client, Business Unit and more.
Click to expand Secondary Metadata, add the desired fields and then optionally, Apply to all documents to add the metadata to all documents in the upload. (If Apply to all documents is unclicked, metadata will be applied to just the current document).

Once the batch us uploaded, all metadata will be saved to the document(s),
- Author Name, Author Email
- Business Unit, Business Division
- Campaign ID, Campaign Rating, Category, Channel, Client
- Contact Name, Contact Email, Content Description, Content Type
- Domain, Ext. Application ID. Ext. Document ID, Ext. Style ID
- Job ID, Purchase Order, Reference URL, Region, Source URL
Edit Metadata
After uploading a document, edit its metadata from its Document Settings tab.
- Log into the TMS as a PM. Open the project and click to open the document needing new metadata.
- Switch to the document's Settings tab.
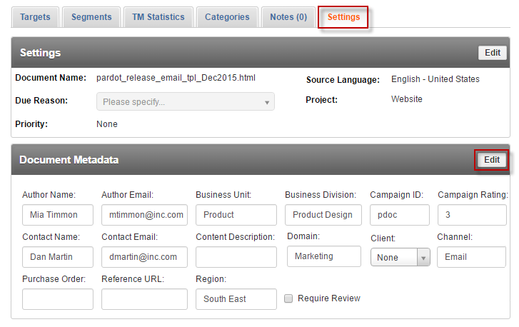
- Scroll down to Document Metadata and click Edit.
- Make any changes and click Save.
- The new metadata will be applied to the document.
Reference Materials
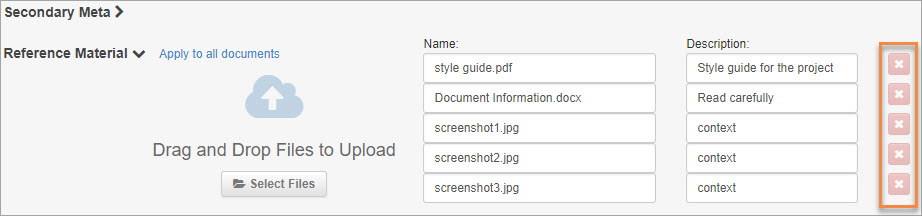
Expand the Reference Materials section that is directly below the Secondary Meta section. Drag and drop files or upload them by selecting the Select Files button. Apply to all documents will associate the Reference Material files with all uploaded documents.
If you navigate away from this page before the reference material has stopped uploading, the upload will fail. A warning will appear if you try to navigate away from the page too soon.

- Uploaded files must be 500MB or less in size.
- Any file type can be uploaded, including zip files.
- You may include a description of the file.
- Delete any file by selecting the red x icon.
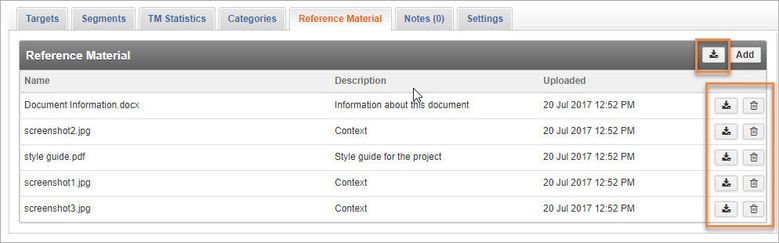
Download Reference Materials
Reference materials can be downloaded separately or in bulk under the Reference Material tab. If downloaded in bulk, Reference materials will download as a zip file. Reference materials can also be deleted.