Click the Translation tab at the top of the page to create a Lingotek account and set up your preferences.

Create a Lingotek Account
To create a Lingotek account,
- Access the Lingotek Translation Wizard.
Click on the Translation link in the Drupal admin menu. Clicking on this link for the first time will open up the Account Setup Wizard.
- Create your Lingotek Account.
Within the wizard, enter your name and email address to set up your account.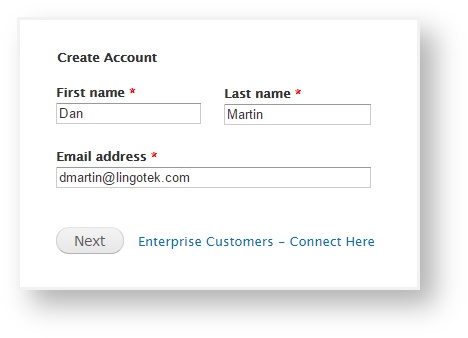
Click Next. Tip: If you already have a Lingotek account, click the “Enterprise Customers - Connect Here” link; enter your credentials and login.
Enable the language switcher.
The Language switcher allows site visitors to choose which language they will use to view your content. Scroll to choose where it will display on your home page.
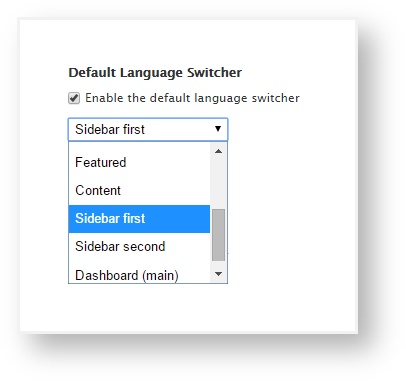 Tip: If you already have a language switcher, you can disable the default language switcher by unchecking the box at the top of the page.
Click Next.
Enable Content TypesChoose how translations will be saved.
Under Translation Storage, you can choose how translations will be saved.
We recommend using the default setting (Field Translation) but you may wish to choose Node Translation in certain cases.
For more information, please see Field vs. Node Translation.
Select which content types to translate.
Next to each Drupal content type, you will be able to select a Lingotek Translation Profile.
A Translation Profile tells Lingotek how to import completed translations back to your Drupal site and is listed next to each Drupal content type.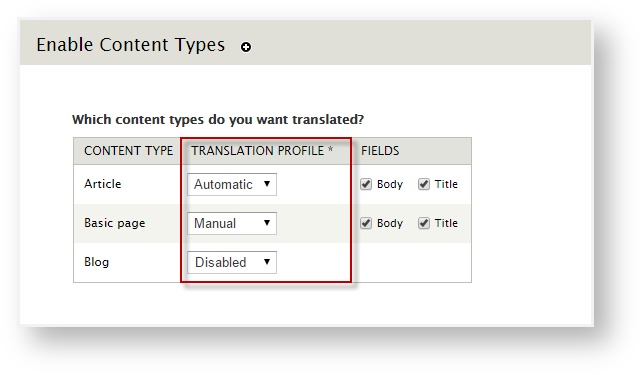
Choose whether you will download translated content to your site automatically (as soon as the translation is complete) or manually (you manually choose which translations will go live).
To skip translation for a content type (e.g. blog articles), go to the Translation Profile column and select Disable.Translation Profiles- Automatic - Whenever new content is added to a node, it is automatically uploaded to Lingotek for translation services.
- Manual - Manually designate which nodes will be translated and choose how often they will be uploaded to Lingotek for translation services. This option gives the user more control over when content will be translated and when it will not.
- Disable - Choose Disable to disable translation for the selected content type.
The selected content type will not be translated.
Tip: For help setting up additional translation profiles, click here.- Choose whether to translate comments.
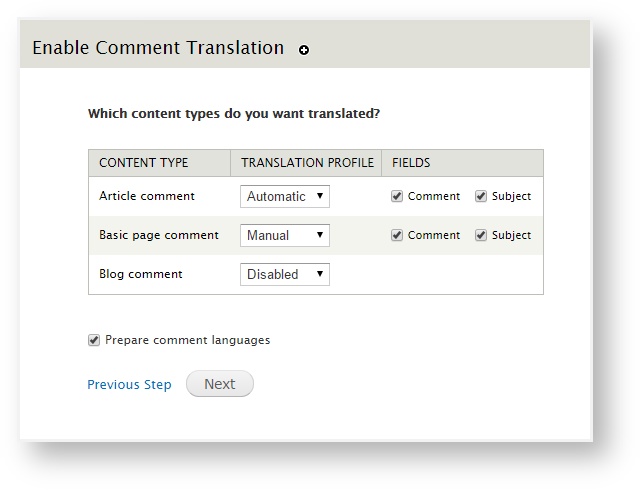
Using the options in the Translation Profile column, decide whether to disable translation for comments or to translate them manually/automatically.
- Enable translation for any additional items. Choose from built in interface, blocks, menus, and more.
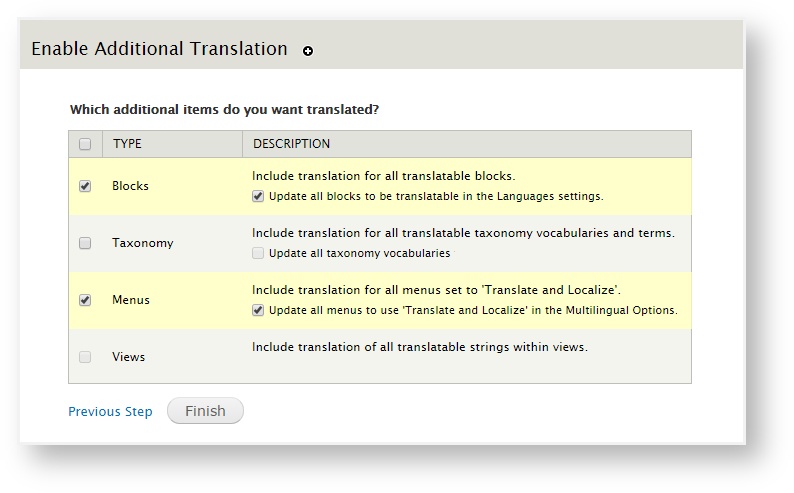 Tip: Check a box to enable translation; check the box again to disable translation. To select all boxes at once, click the box at the top of the list.Tip: If you are using the enterprise version of the Lingotek module, you can also choose which workflow, project, and translation memory vault(s) to use.
 - Click Finish to save your changes.
Next: Adding Target Languages