Installation
To install your RAY Enterprise AEM connector:
Log in to your instance of AEM.
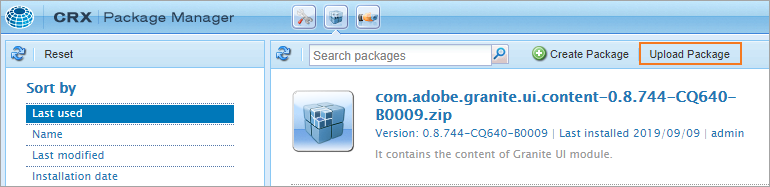
Open CRX Package Manager
https://your_aem_domain/crx/packmgr/index.jsp
Tools > Deployment > Packages
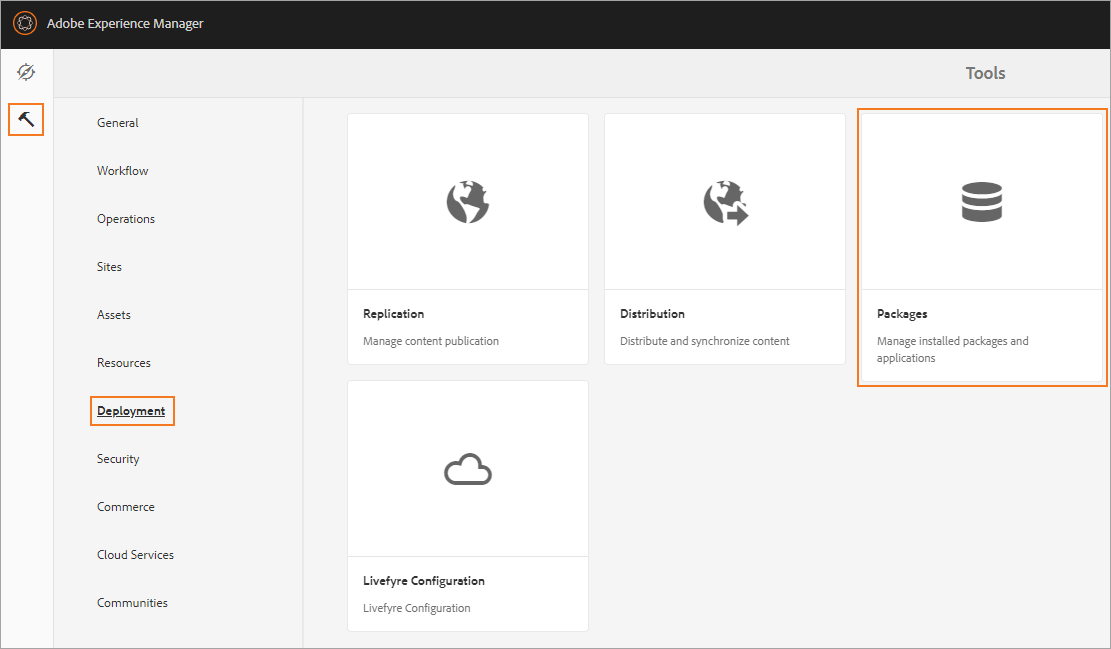
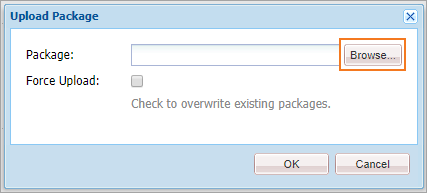
Select Upload Package.
Browse your device for your RAY Enterprise AEM package. If you have not yet received one, please reach out to support@lingotek.com.
You must upload the package as a zip file.
Select Install.

A modal will appear asking you to confirm the installation.
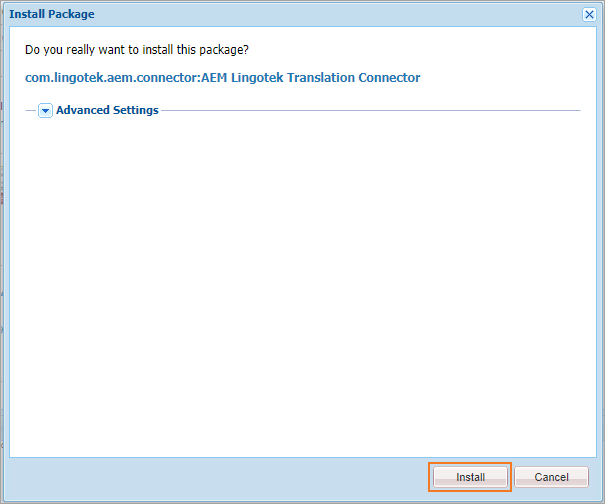
You don't need to adjust any advanced settings.
Select Install.
After a successful installation, your package will display that it has been installed.

Setup
Adobe Experience Manager Web Console Configuration
Go to the Adobe Experience Manager Web Console Configuration
http://your_aem_domain/system/console/configMgr
Tools > Operations > Web Console
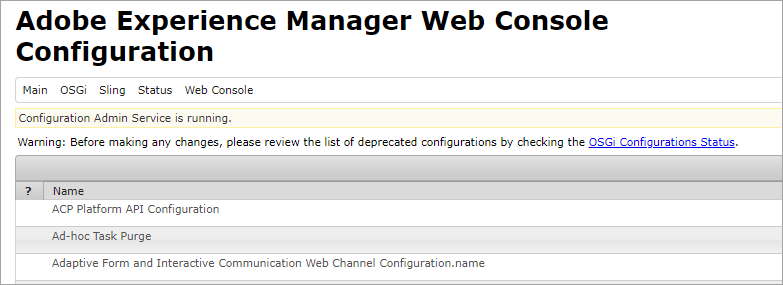
Use the find function on your browser to find RAY Enterprise Translation Service quickly, or scroll until you find it.
Select the edit icon at the far right end of the row.
Ensure that the following is correct.

AEM Instance Base URL should already be populated with the IP address where your AEM instance is hosted.
RAY Enterprise TMS Base URL should be populated with https://myaccount.lingotek.com. If it is not, change it to https://myaccount.lingotek.com.
If everything looks correct, select Save.
Use the find function on your browser and search for Day CQ Link Externalizer.
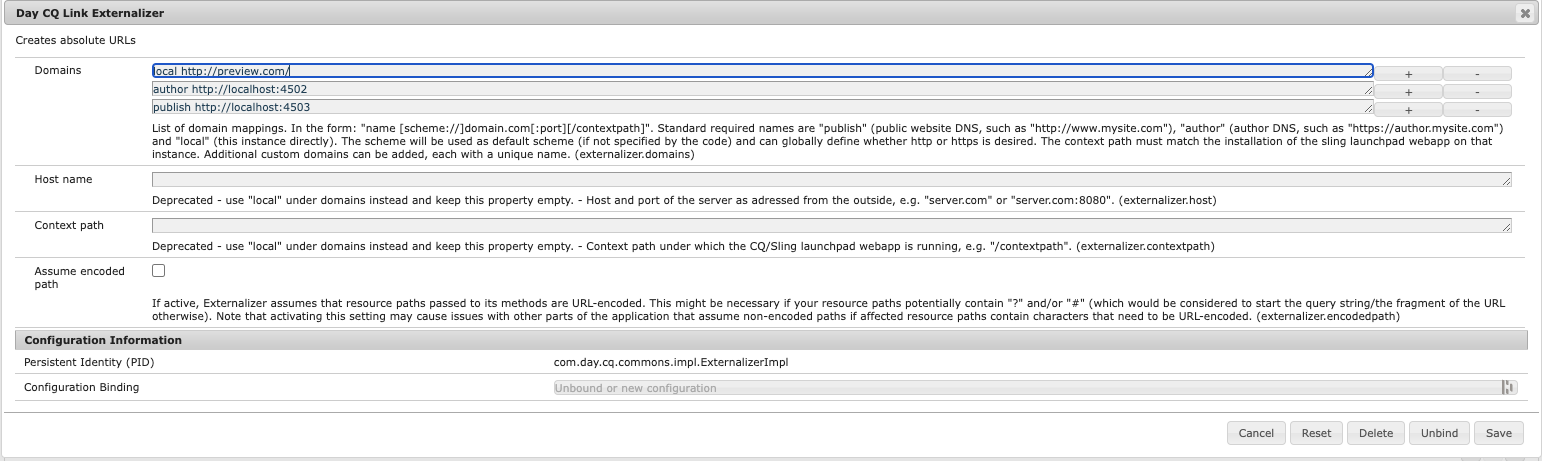

Make sure the Local setting is correctly set to your Domain/IP address and the appropriate protocol.
Select Save.
Translation Cloud Services - Global
You need to set up a RAY an Enterprise Connector and Translation Integration in the Translation Cloud Services to use the RAY Enterprise AEM Connector. These are AEM and RAY Enterprise translation settings that determine how content is sent to RAY Enterprise by AEM. You must begin by creating a RAY an Enterprise Connector and Translation Integration under your Global path under Translation Cloud Services.
Translation Connector
Navigate to Translation Cloud Services.
Tools > Cloud Services > Translation Cloud Services

Select Conf > Global > RAY Enterprise Connector > Create

A modal will appear where you will choose between creating a RAY an Enterprise Connector, Translation Integration, or Microsoft Translator.
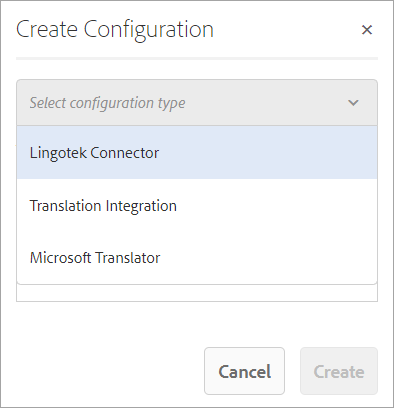
Before setting up a Translation Integration, you must set up the RAY Enterprise Connector.
You never need to select Microsoft Translator to enable RAY Enterprise's AEM connector.
After selecting RAY Enterprise Connector, you will land on a new page to connect to your RAY Enterprise Account, select a community, and choose a Translation Profile.
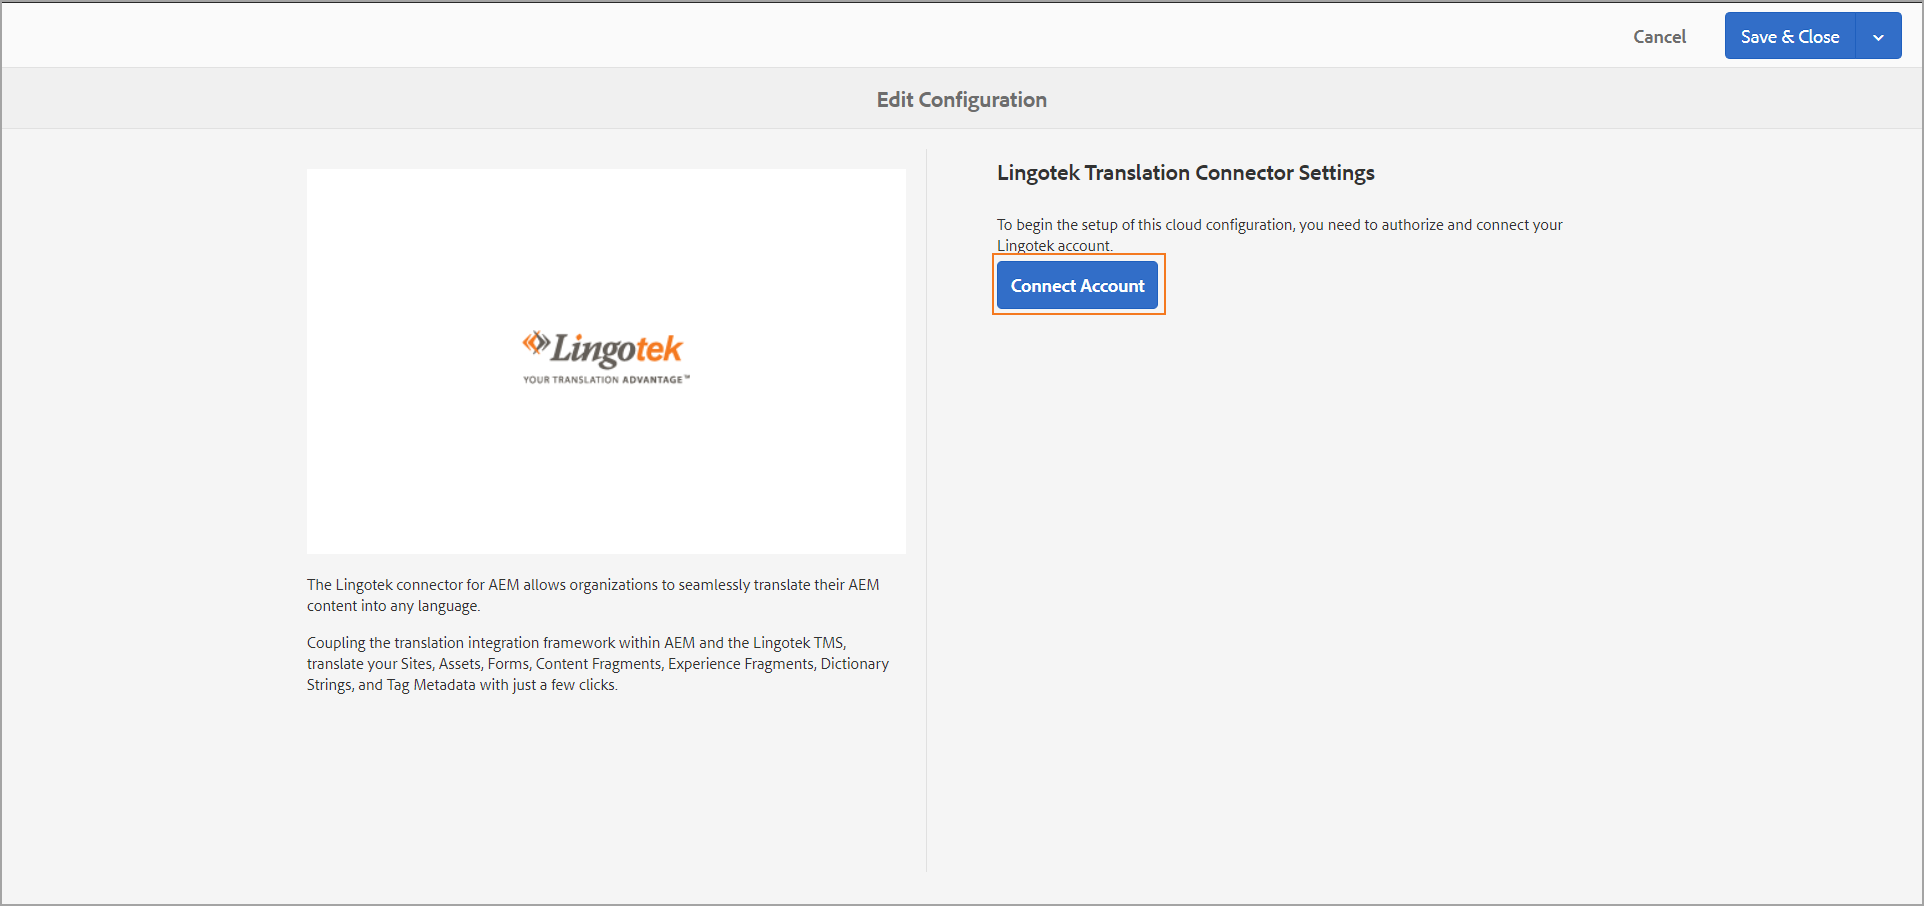
Connect Account - Select Connect Account, and your browser will redirect you to RAY Enterprise’s sign-in page. After you sign in, you will be redirected back to the previous page with new options. If you are already signed into the TMS in a separate tab in your browser, your page will simply refresh with the new option.
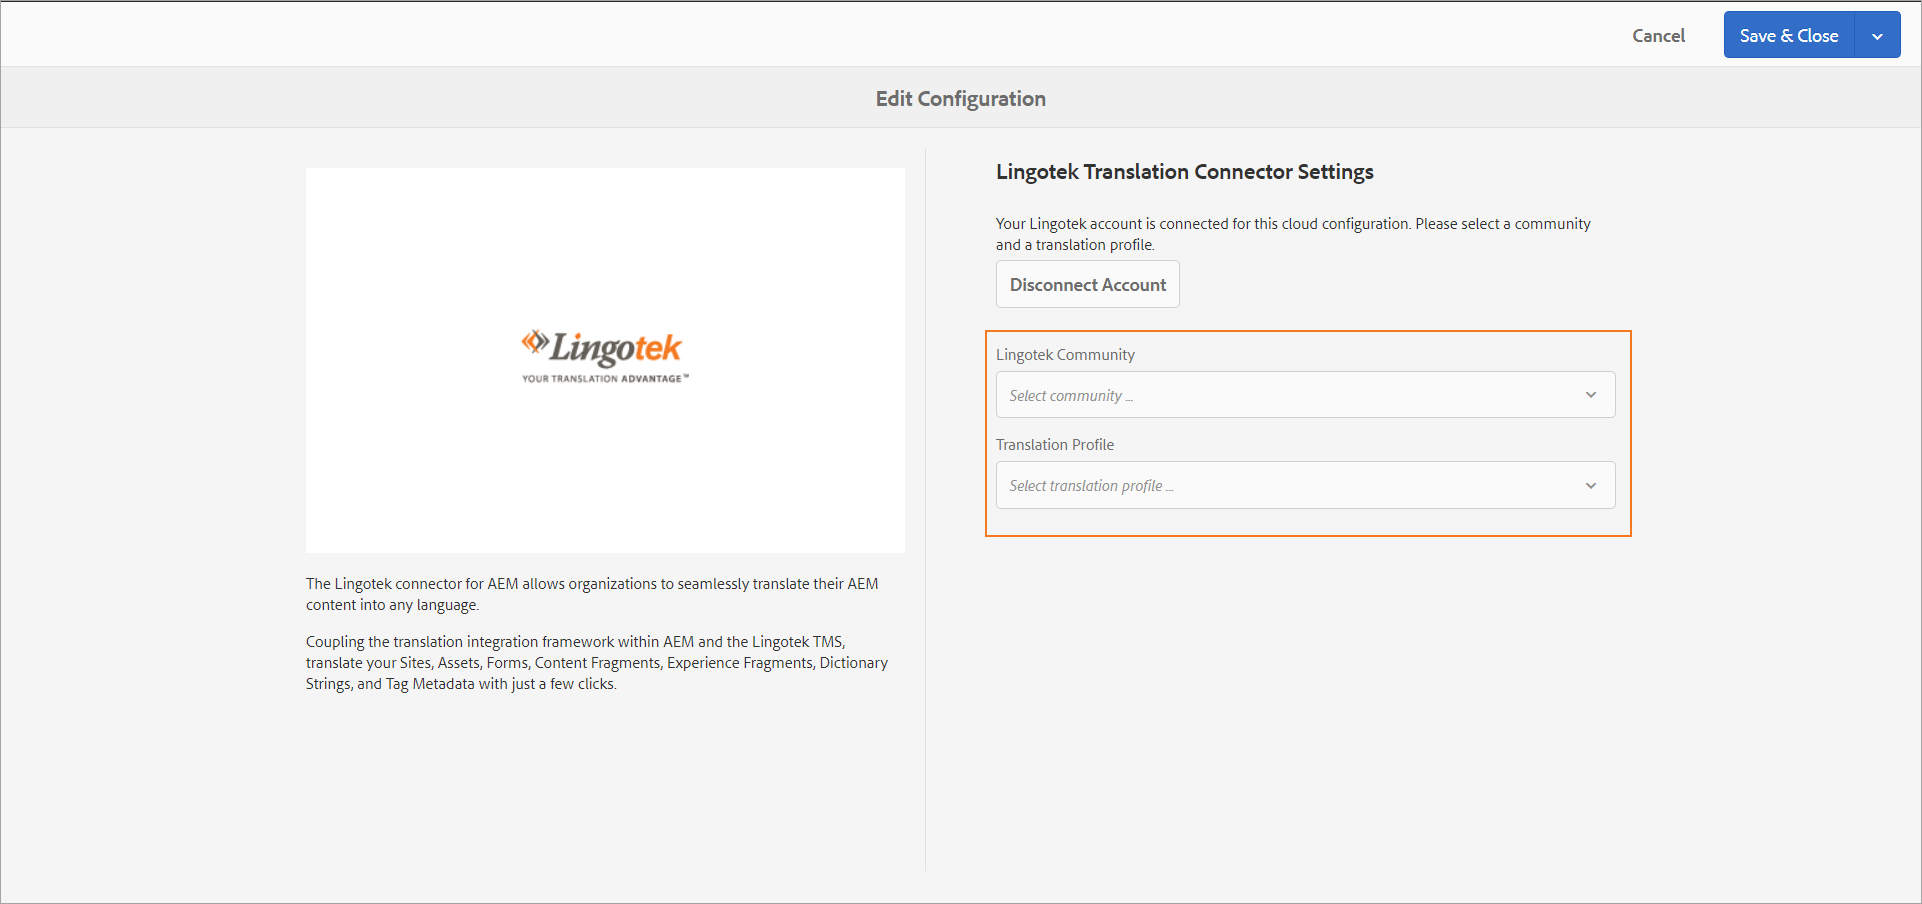
RAY Enterprise Community - Select the RAY Enterprise Community drop-down and choose the RAY Enterprise Community you wish to associate with this AEM environment.
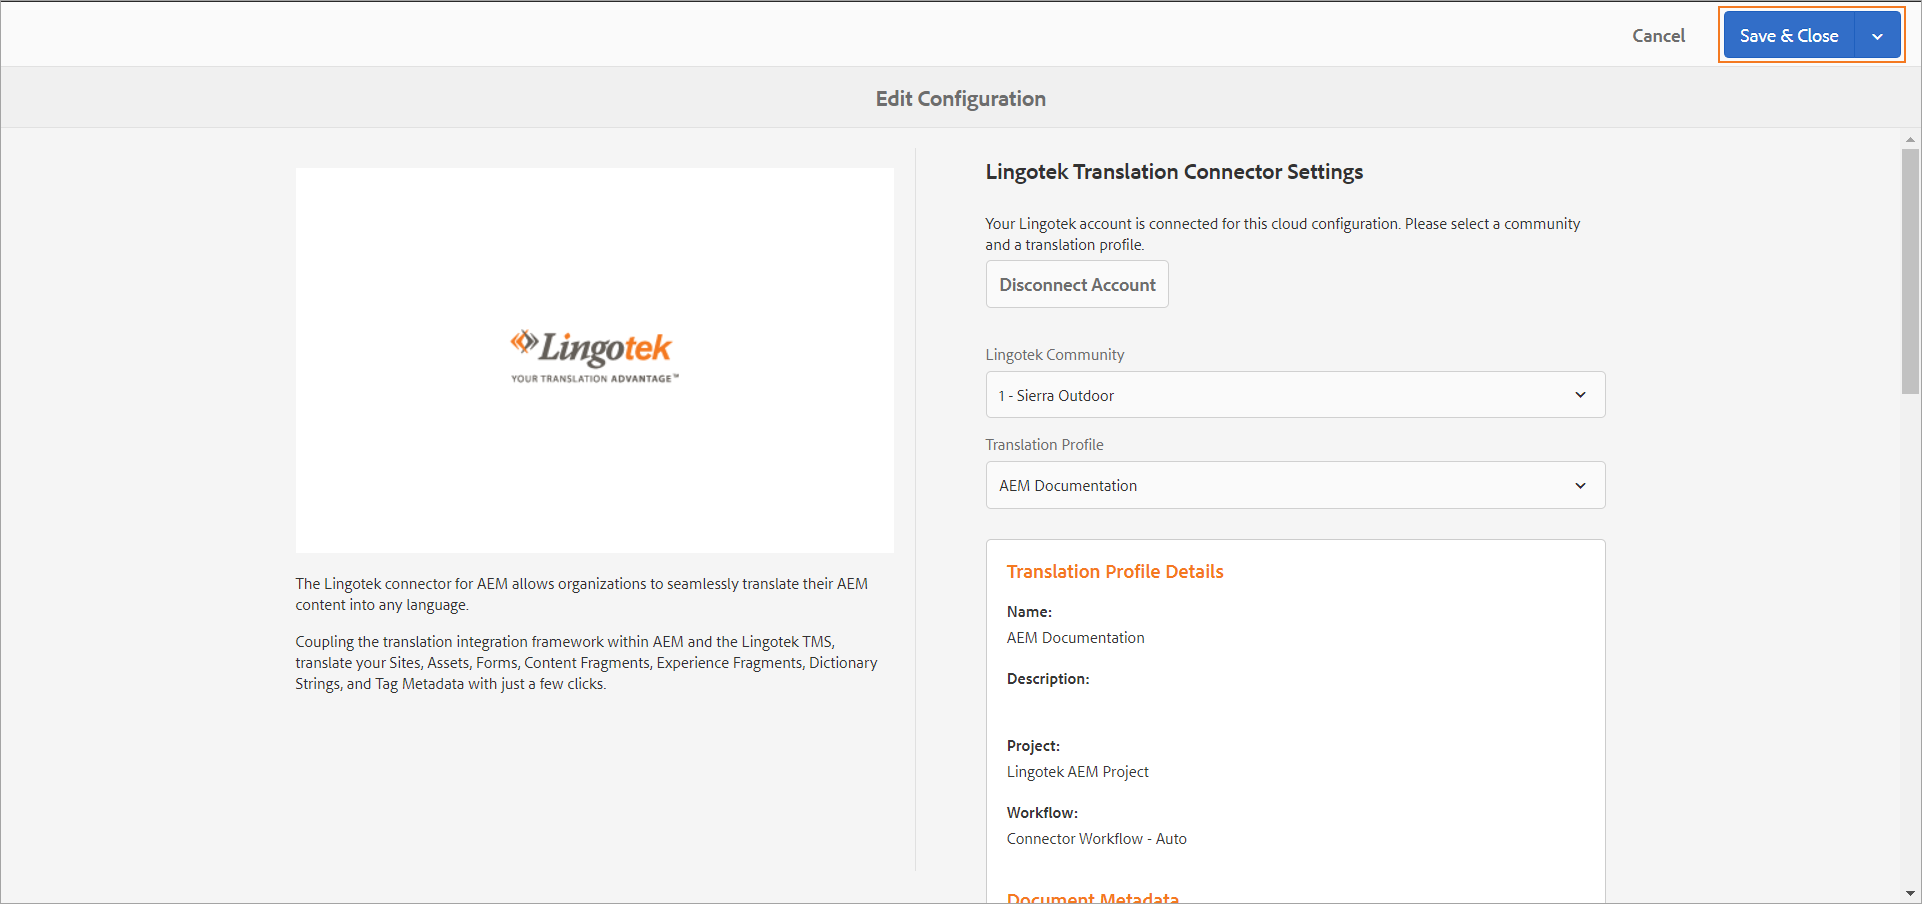
Translation Profile - The translation profile you select determines the project the connector sends your content to, the translation workflow used, and what RAY Enterprise metadata should be attached to the uploaded content. See the Translation Profile documentation for more information. Once you have selected your Translation Profile, you will see its details appear below.
Once you have successfully completed configuring your RAY Enterprise Connector, you can Save and Close.
If needed, you can edit the settings in your RAY Enterprise Connector later by selecting the RAY Enterprise Connector and then selecting Edit.
Translation Integration
Choose the same Global Path where you configured your RAY Enterprise Connector and again select create.
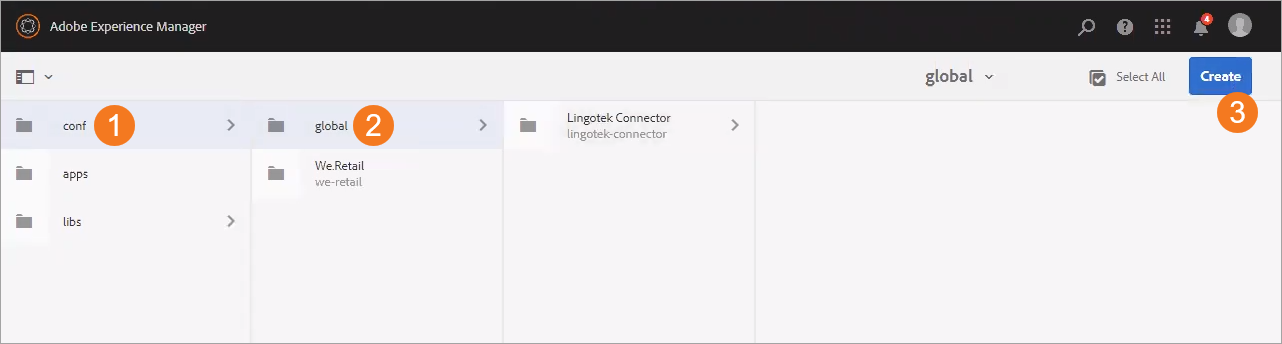
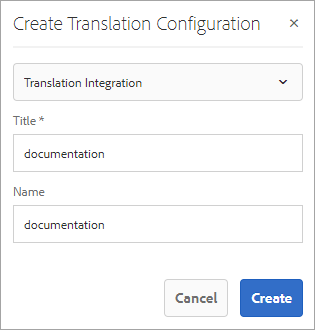
This time, choose Translation Integration. RAY Enterprise Connector should not be an option. If it is, you have selected the wrong path.
Provide a title.
Optionally, provide a name.
Fill out the required settings under Sites and Assets. You will also be able to configure Communities, but those settings do not affect the RAY Enterprise Connector, so you can leave Communites with the default settings.
Sites
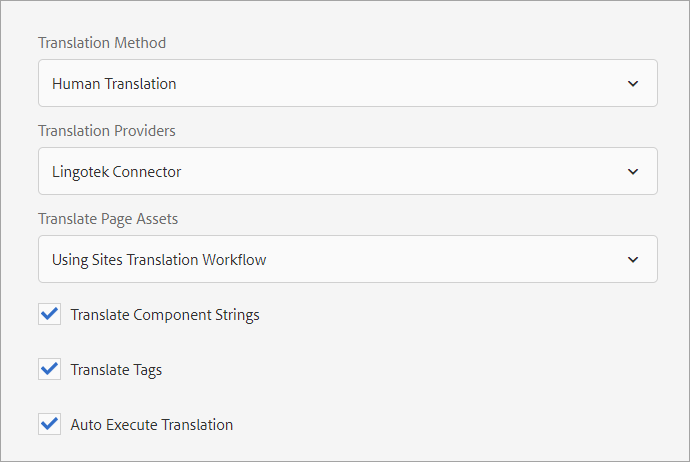
Translation Method: Choose Human Translation for the RAY Enterprise connector.
Translation Providers: RAY Enterprise if you are using our connector.
Translate Page Assets: You have the option to use the Sites Translation Workflow for associated assets or use the asset translation workflow.
Choose associated content you want to send for translation and if the translation should be executed as soon as the job is created.
Assets

Translation Method: Human Translation if you are using the RAY Enterprise Connector.
Translation Providers: RAY Enterprise if you are using our connector.
Translate Content Fragment Assets: Choose how you want inline Media Assets and Associated Collections to be translated.
Choose which types of information should be sent up for translation and if the translation should be executed as soon as the job is created.
Translation Cloud Services - Additional Site Paths
You also have the option to create RAY Enterprise Connector settings for other Site paths under Translation Cloud configs. Please note that you should only ever create one Translation Integration under your Global path. The following documentation is for Connector settings only.
Configuring one
RAYEnterprise Connector
Configure a RAY an Enterprise Connector for the desired site path. Select the desired path, select create, and then follow the same steps described above.
If you select this path when Applying a Translation Configuration Path (see the next section), it will use the Translation Integration settings of the Global Path with the RAY Enterprise Connector configuration.
Configuring Multiple
RAYEnterprise Connectors
If you want to create multiple RAY Enterprise Connector settings for a site path, you must first open the Configuration Browser.
Tools > General > Configuration Browser
Select the path you want to configure RAY Enterprise Connectors and select Create.
A modal will appear. Give the new configuration a title and select the Cloud Configuration checkbox.
Repeat this process as many times as desired to use multiple translation profiles so content can be uploaded to different projects, using different workflows, or tagged with unique metadata.
Return to the Translation Cloud Services and open the path where you just created multiple Cloud Configurations.
For each newly created Cloud Configuration, configure a RAY an Enterprise Connector using the same steps described previously. Whenever you apply a translation configuration path while creating projects, AEM will default to using the Global Translation Integration settings.
Applying a Translation Configuration Path
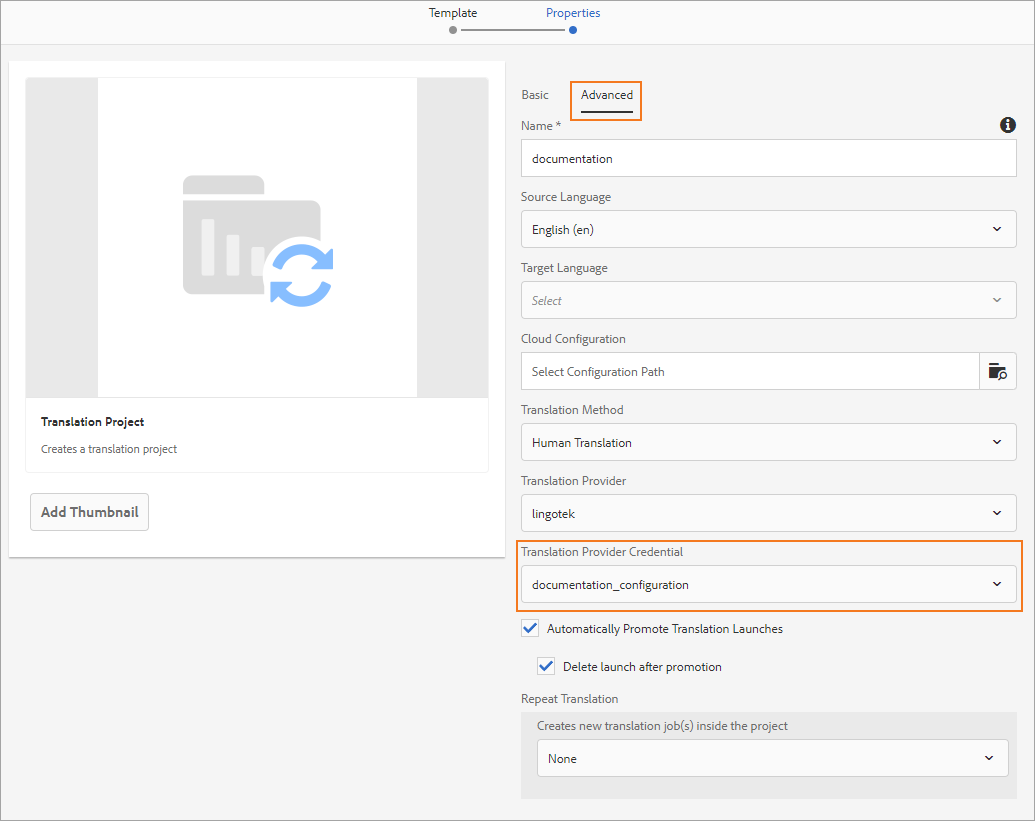
When creating Translation Projects Manually, choose which Translation Config you want to use in the Advanced Settings under Cloud Configuration. See Creating Translation Projects for more information.
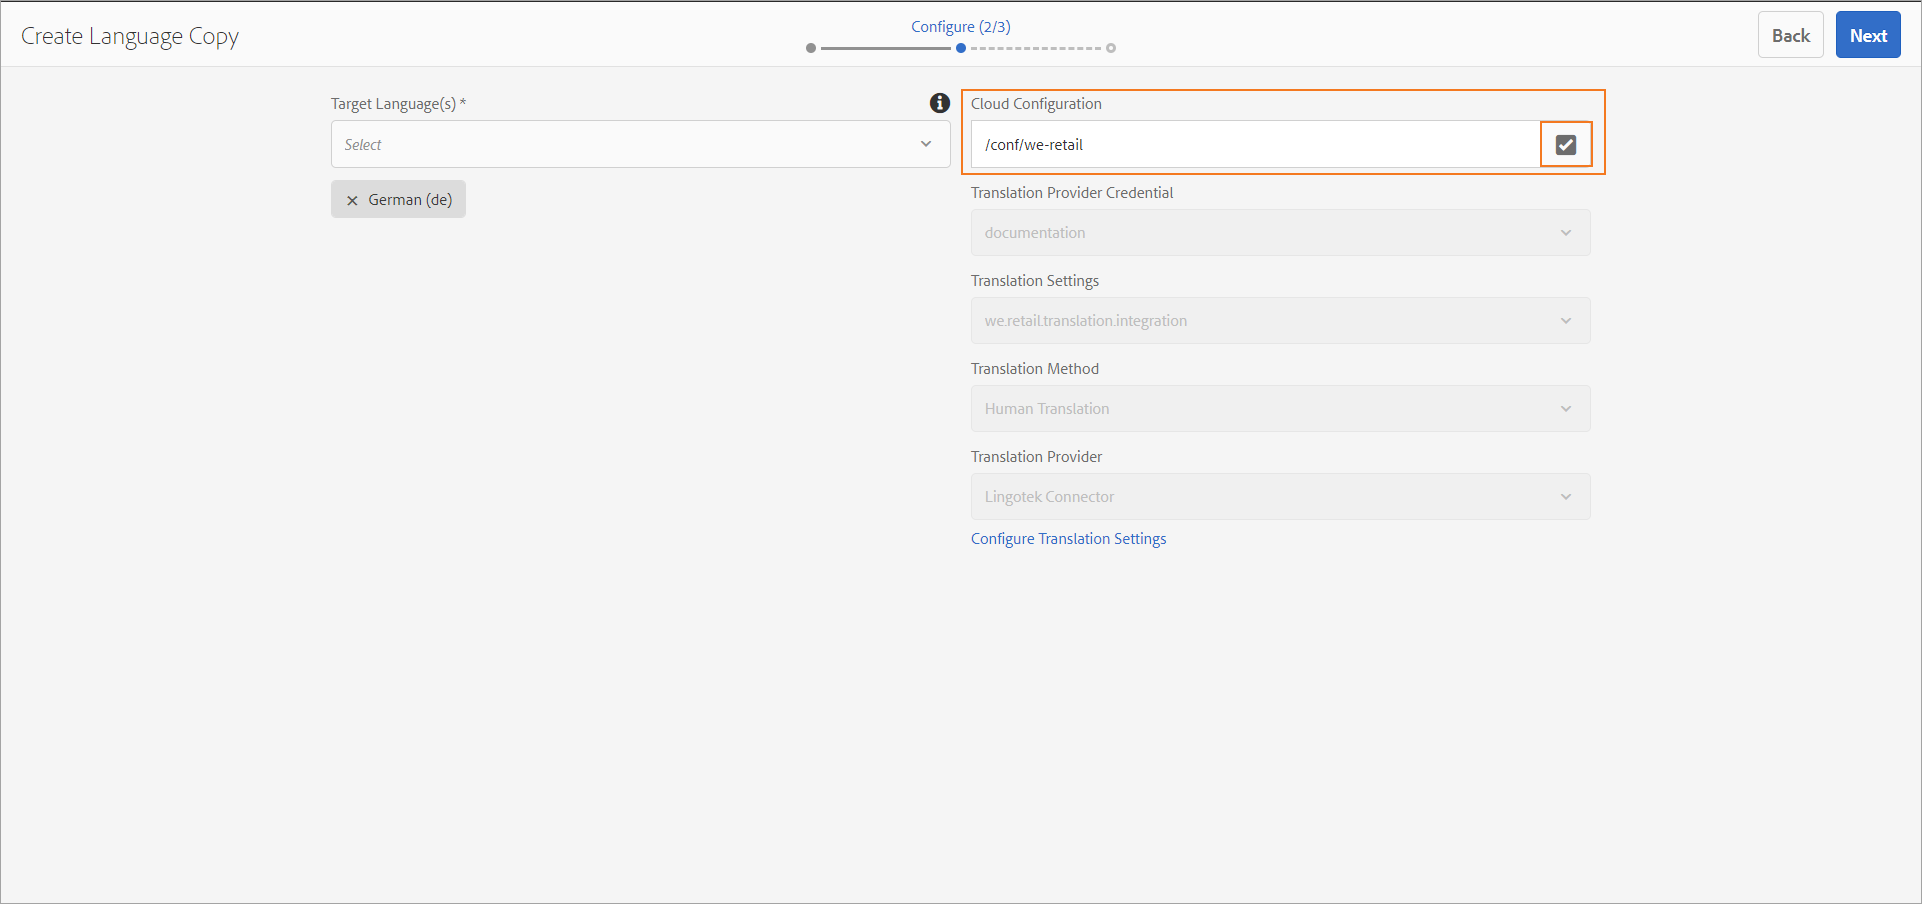
When creating a language copy from the Sites page, you select Cloud Configuration on step 2. If you have properly set up your RAY Enterprise Connector and your Translation Integration, all other settings will be filled out for you.
Organizing AEM Content
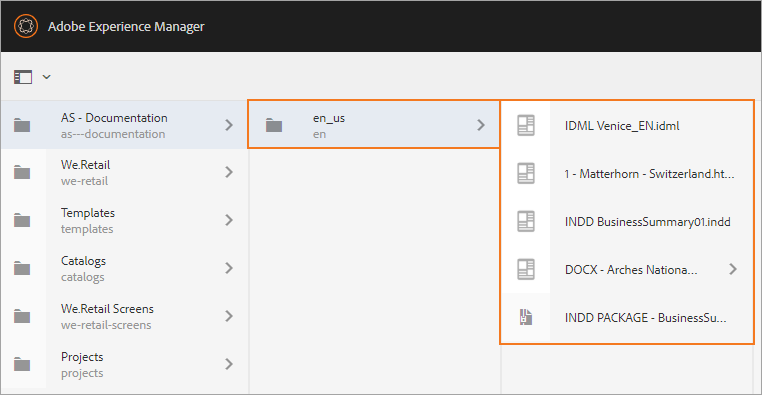
The RAY Enterprise AEM connector closely follows AEM best practices. To correctly prepare content for translation, your source content must be organized under a single source language folder. This is a folder that is named after your source language. Note that even though AEM supports various formats, they auto-generate language copies with the <language-code>_<locale-code> format (all lowercase), so we recommend you do the same for your source language folder for simplicity.
Site Examples of a Source Language folder
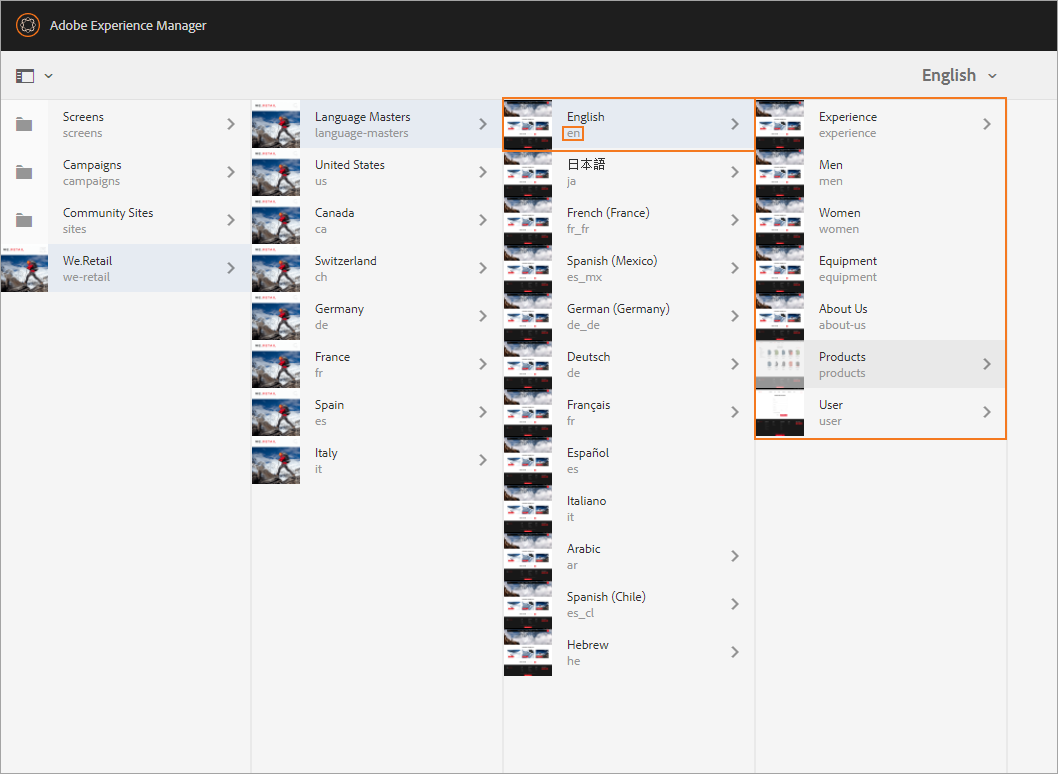
Asset Examples of a Source Language Folder
When you submit content from within the source language folder for translation, a Language Copy (or several Language Copies) of the source language folder will be created named the locales of your translation.
User Permissions for In-Context Translation
Our Workbench allows linguists to translate your AEM site content in-context. You will need to give linguists permission to view the site content for them to access it in our context viewer. The simplest way to do this is outlined below:
Create an AEM User Group with the following permissions for /content and /conf paths.
Permission = Allow
Privileges = jcr:read
Create shared, or unique AEM user accounts for the linguists who will be assigned to work on your AEM content.
Add those accounts to the AEM User Group. We recommend linguists sign in to your AEM instance before getting started on their translation tasks. We support SAML 2.0 single sign-on, and we have a verified integration with Okta.
Upgrade the
RAYEnterprise AEM Connector
As the RAY Enterprise AEM connector improves, you will want to upgrade your connector to the latest version. To do this, we recommend you:
Reach out to your support team for the latest version of our AEM connector.
Create a backup of the
/confpath inside CRXDE to be prepared for any unexpected complications.Install the new package before uninstalling the old package. This will ensure your cloud configurations are not removed.
Once the new package finishes installing, uninstall the old package. This ensures you don’t have two packages running at the same time.
On this page
| Table of Contents |
|---|