Choose Your Settings (Sitecore)
Connecting Sitecore to Lingotek
To connect Lingotek and Sitecore, send an email to support@lingotek.com to request Lingotek's
- Access Token
- Community ID
- Project ID
- Lingotek API URL
Then add this information to the Lingotek-Sitecore module.
- Log into Sitecore and open the Launchpad.
- Click the Lingotek icon.

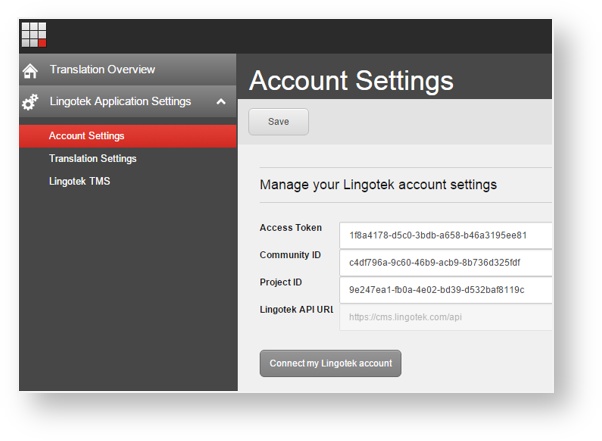
- On the left, expand Lingotek Application Settings
- Click to select Account Settings
- Paste your account information into the appropriate fields.
- Click Connect my Lingotek Account.
![]() Tip: If you need to connect a different account, simply clear the information from each field, enter the new information, and then click Save at the top of the page.
Tip: If you need to connect a different account, simply clear the information from each field, enter the new information, and then click Save at the top of the page.
Choosing Languages
To start setting up, choose the languages you would like to translate into.
To choose your translation languages,
- Log in to Sitecore.
- Click to open the Launch Pad.
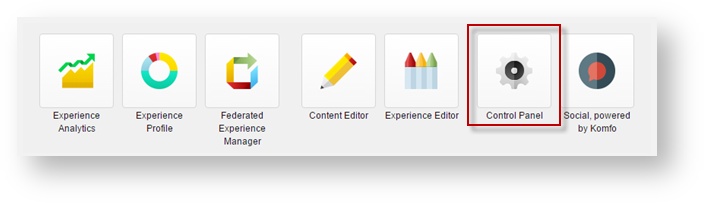
- On the right, select Control Panel.
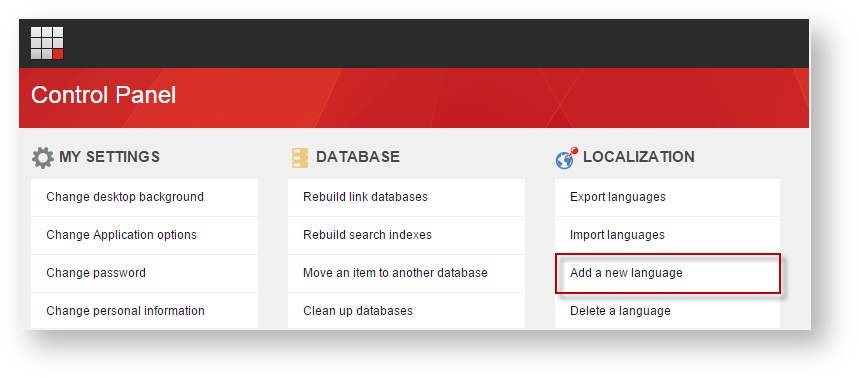
- Under Localization, choose Add a new language.
- Type the first letter of the language, and scroll to select the proper locale.
 Popular languages listed above; less popular languages listed below.
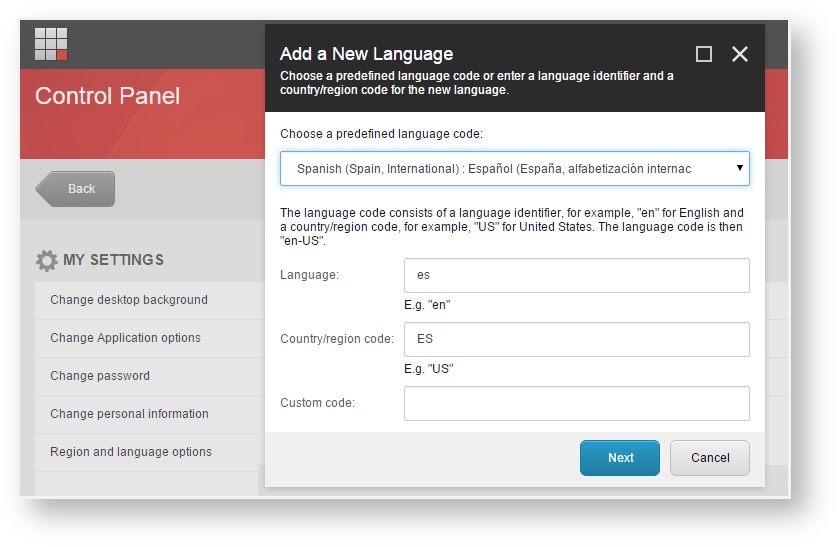
- Click Next to complete the Wizard. Optionally upload a spellchecker file. (If you do not have one, click Next).
- Repeat until you have added all of the languages you would like to be able to translate
Note: These languages will appear as the translation options in each page on your website.
Next: Choose What to Translate