Finalize Your Settings (AEM)
Go into the project and make sure all of your project settings are correct. Check to make sure you have chosen the correct Lingotek project and workflow.
To confirm your project’s settings,
1) Open the translation project from the AEM Projects menu.
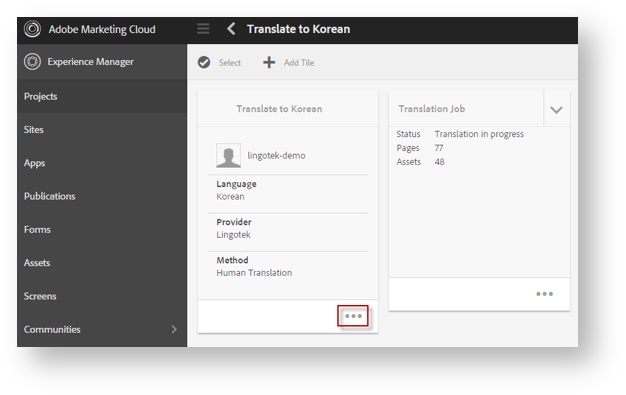
2) In the open project, you will see three project cards. Click the “…” on the first project card.
From this card, you will be able to edit and save your Project’s configurations.
- From the open card, click the Edit icon (upper left).
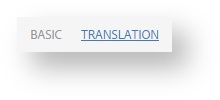
- Check the settings on both tabs (Basic and Translation) and make any needed changes.
- From the open card, click the Edit icon (upper left).
i. Basic Tab: Enter a Title, Description, Due Date, etc.
ii. Translation Tab: Scroll to select a Source and Target language and choose your translation settings.
Here, you will be able to automate many steps of the translation process.
- Translation Method: Choose Human Translation
- Translation Provider: Select Lingotek
- Cloud Config: Select the Lingotek project you would like to use.
 Note: This project must be configured previously using Lingotek.
iii. Click the Done check box (upper left) to save your work.
After saving your changes, you will be ready to kick off the translation project.