Setting Up (Salesforce)
- Once you have installed Enterprise on Salesforce, select the instance you wish to manage from the blue drop-down button in the upper right corner.
- Then select Enterprise Settings on the options bar.
") Tip: If you don't see Enterprise Settings, you can set it up in a few steps. Click here for help.
Tip: If you don't see Enterprise Settings, you can set it up in a few steps. Click here for help.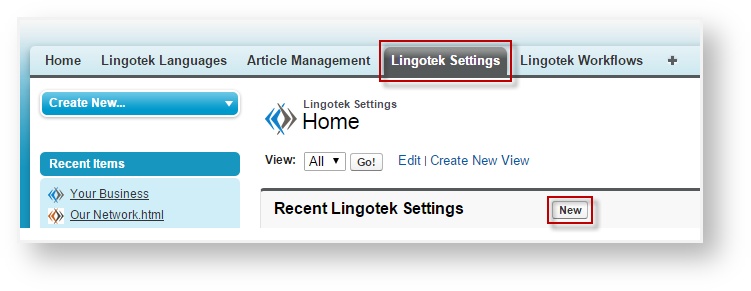
- On the Enterprise Settings Home page, select New at the top of the page.
- Specify the Enterprise Setting Name. It can be whatever you choose. In our example, we choose Your Business.
- Choose Production from the Environment drop-down.
- Then click Save.
- Enter your API Token in the corresponding box (the API Token should be provided to you), and click Save & Test.
- Now you have created a new Enterprise Setting. On the homepage for this new setting, click Get Projects and Get Workflows. Both will keep you on the Setting homepage.
- Now, you are able to choose your Default Project and Default Workflow from the options on the right hand side below the “Owner” name.
- Once you have selected both, click Save.
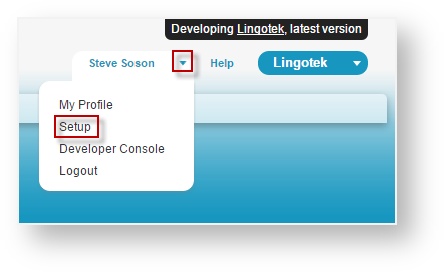
- Next, click Setup in the very upper right corner next to your name.
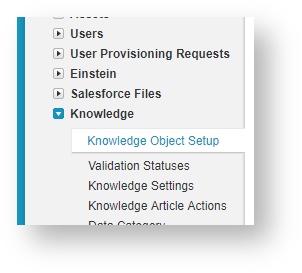
- Then on the left side, select Customize which will expand into a drop down menu, and then select Knowledge (underneath Requests) from this menu. Another drop down menu will appear, and select Knowledge Object Setup from this menu.
- Scroll down to the Field Sets section an click New.
- Provide the Field Set Label – Enterprise
- Provide the Field Set Name – also Enterprise
- For the box that asks Where is this used?, you can also say Enterprise.
- When you are ready, click Save.
You will be taken to the Enterprise Field Set page. On this page, you can drag and drop Quick Fields into the Field Set from the top box to down below.
![]() Tip: These are the fields you want to have translated.
Tip: These are the fields you want to have translated.
- Once you have chosen your desired fields, click Save in the upper left corner of the box.
- You will be directed to the Field Sets list for the article type you are working with. Find the Field Set you just created (e.g. "Enterprise") and copy the API Name.
- Now, on the left side, under Build click Create. Then from the drop down menu, click Objects.
- On the Custom Options page, select Enterprise Setting.
- Then, on the Enterprise Setting page, scroll down to the area labeled Custom Fields and Relationships then select Enabled Objects.
- On the Enabled Objects page, select New in the Picklist Values field.
- In the empty text box, paste the API Name copied from earlier then click Save.
- Click on the Enterprise Settings tab on the main navigation to return to the recently created Enterprise Setting (what we called Your Business), and click Edit at the top of the page.
- In the Enabled Objects box, select the API Enabled Object.
- Now, return to the Article Type Detail page (Setup > Build > Customize > Knowledge > Knowledge Article Types > Article Type), and click New at the top of the Fields field.
- You will be taken to the New Custom Field page.
- Step 1: Select Lookup Relationship then click Next.
- Step 2: Select Enterprise Document from the drop down menu then click Next.
- Step 3: Field Label should be Enterprise Document and the Field Name should be auto-generated (Enterprise_Document). Click Next.
- Click Next for Steps 4 and 5. Then click Save at Step 6.
You should return to the Article Type Detail page. Now you will need to enter some more custom attributes, like Enterprise Exported and Imported Dates.
- Click New again at the top of the Fields field on the Article Type Detail page, and you will be taken to the New Custom Field page.
- Step 1: Select Date/Time then click Next.
- Step 2: Field Label should be Enterprise Exported Date and the Field Name should be auto-created. Click Next.
- Click Next for Step 3. Then click Save at Step 4.
- Repeat these steps to enter the Enterprise Imported Date (click “New” again at the top of the “Fields” field).
- Step 1: Select Date/Time then click Next.
- Step 2: Field Label should be Enterprise Imported Date and the Field Name should be auto-created. Click Next.
- Click Next for Steps 3. Then click Save at Step 4.
- Now, you must create the call back. On the left side option bar, click Develop then Sites from the drop down menu.
- On the Sites Homepage, click New at the top of the Sites field.
- Specify the Site Label (call it Enterprise once again)
- The Default Web Address will also be Enterprise
- The Active Site Homepage does not matter so you may put Under Construction
- Make sure that the site is checked as Active.
- Then click Save. You will be taken to the Enterprise Site homepage.
- Click Public Access Settings at the top of the page, and you will be taken to the Enterprise Profile page.
- Under the Apps field, select Apex Class Access and on the next page, click Edit at the top of the page.
- Select the Enterprise: Enterprise Listener Apex Class and click Add. Then, click Save.
Add a User
To add users to your Salesforce account,
- Log into Salesforce as an administrator.
- From the main menu, select Setup.
- On the left under Administration Setup, select Manage Users > Users.
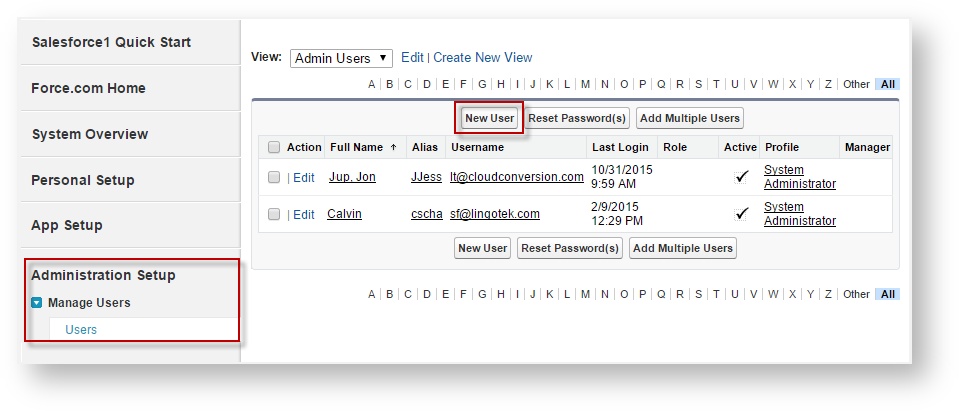
- In the main window, click New User.
- Complete the required fields (red) and any other desired fields. Scroll down to ensure all required fields are complete.
- Complete the required fields (red) and any other desired fields.
- When you are ready, scroll down and click Save.
The new user can be assigned to handle tasks in Salesforce.
Email Settings
Next, you will need to set up an internal Email Service within Salesforce. This is needed for the translation plugin to work:
In the very upper right corner next to your name, choose the drop down arrow and select Setup.
Under App Setup, select Develop and Email Services.
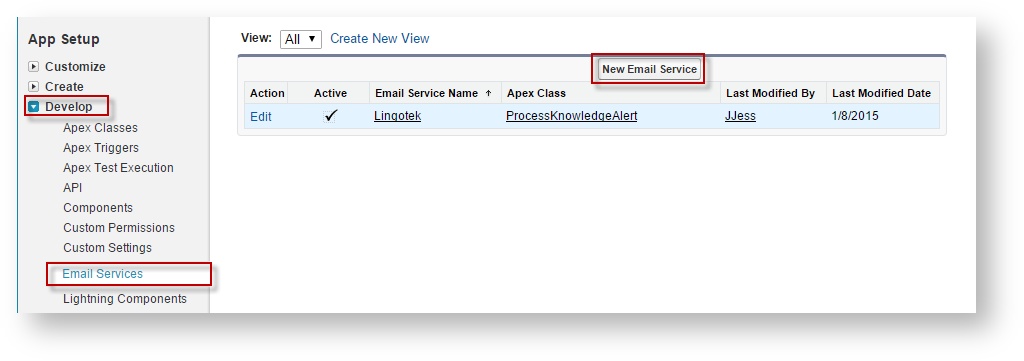
In the new screen, click New Email Service.
Now you will see a screen where you can configure your Email Service Information.
The information on this page will allow Enterprise and Salesforce to communicate with one another. Complete the fields as shown.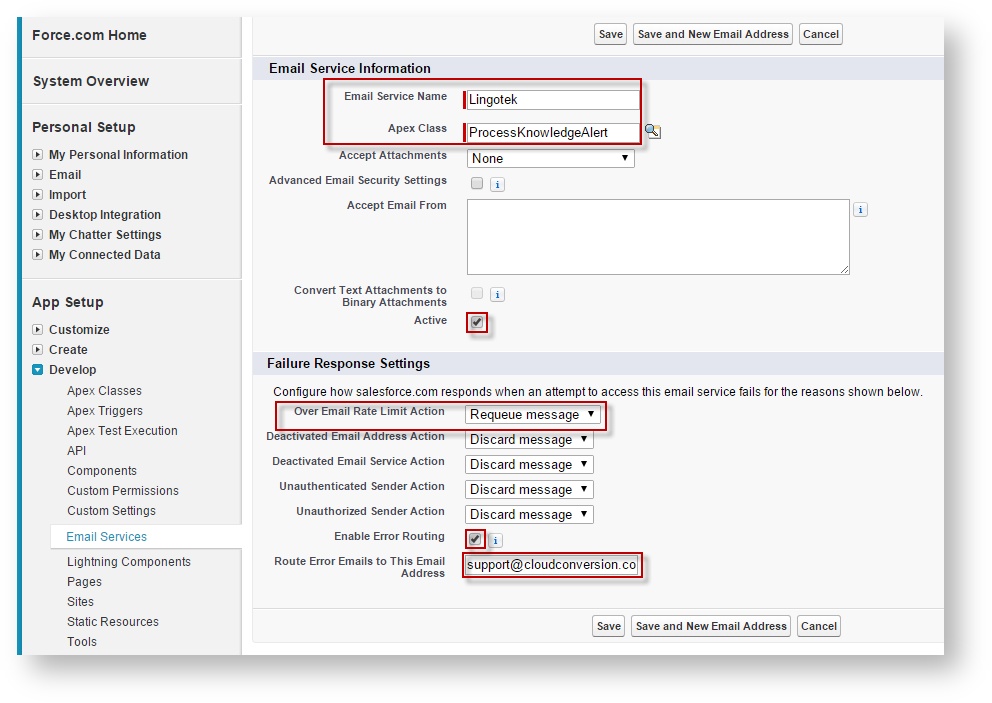
Under Email Services Name, enter "Enterprise"
Under Apex Alert, search for and select "Process Knowledge Alert."
Click the search icon, type "Process Knowledge Alert" and Click Go. From the search results, click to select Process Knowledge Alert.At the end of the list, check Active.
Under Failure Response Settings, complete the following fields.
Next to Over Email Rate Limit Action, scroll to select "Requeue message."
At the end of the list, check Enable Error Routing.
Under Route Error Emails to This Email Address, enter support@cloudconversion.com.
Click Save and New Email Address.
This should open to the Email Address Information page.
On the Email Address Information page, be sure to add a Context User.
The Context User is a placeholder profile that allows Enterprise to communicate with Salesforce. Complete the fields as shown: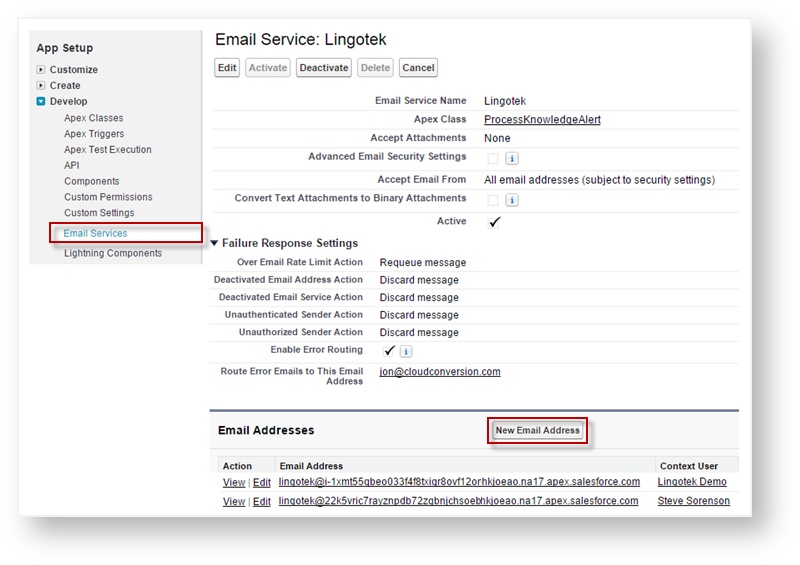
- In the Email Address field, type "Enterprise."
") Note - Salesforce will use this text ("Enterprise") to generate a system email address.
Note - Salesforce will use this text ("Enterprise") to generate a system email address.
This email address helps Enterprise communicate - behind the scenes - with Salesforce.
- Check Active.
- By default, Salesforce adds you as the Context User. To designate someone as the Context User, click the search icon and select the new user. (Note, this can be any user).
- Click Save.
- In the Email Address field, type "Enterprise."
Now, you have successfully configured Enterprise to be used with Salesforce.
Next: Choosing Content