Translating (Drupal 7)
To start translating your content, use three simple steps.
- Choose which nodes to translate.
- Complete the translation.
- Download the translated node into your Drupal site.
Choose Which Nodes to Translate
To begin,
- Access the list of translatable nodes.
From the Drupal admin menu, select Translation > Manage > Nodes.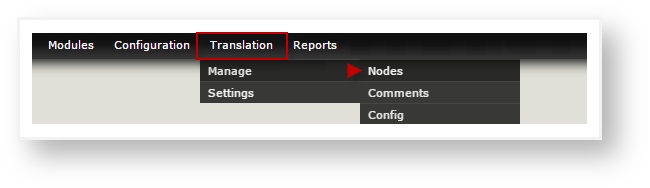
- Choose which nodes should be translated.
Start by uploading all the nodes you wish to translate to the Translator Workbench.
To upload a single node, click the Source Uploaded language icon next to the title of the node.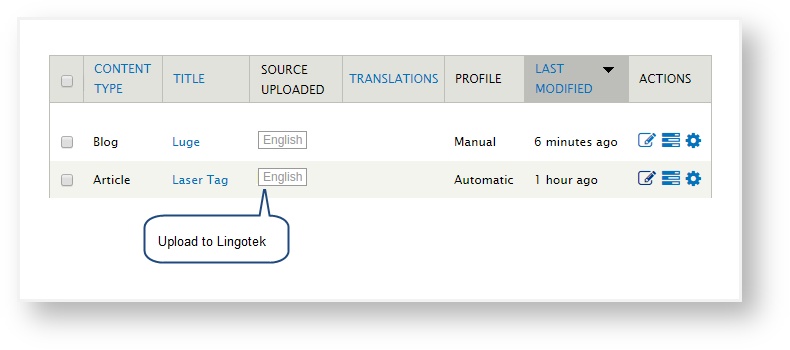
 Tip: To upload many nodes at once, click the check box at the upper left of the page.
(This will select all nodes displayed on the page). Then from the Actions menu, scroll to select Upload source for translation.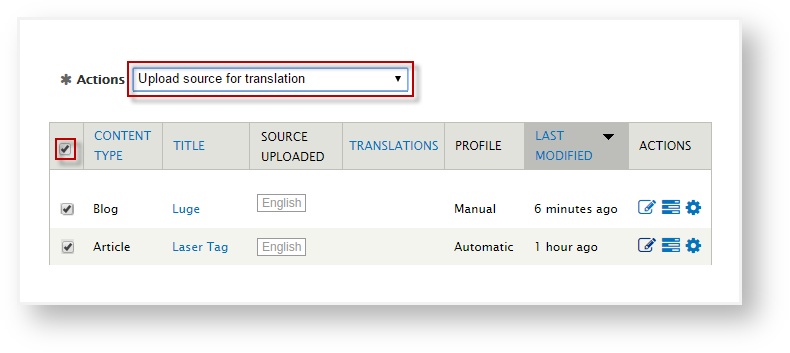 Tip: If you would like to upload all nodes on all pages, you can click the Upload icon at the top of the page
( ).
).
Caution – this action is irreversible, and will upload all translatable nodes – including the ones that were designated for manual upload.
- Start Translating.
Once the node is uploaded, an orange language icon will appear next to its title. Click the language icon to open the node in the translator workbench.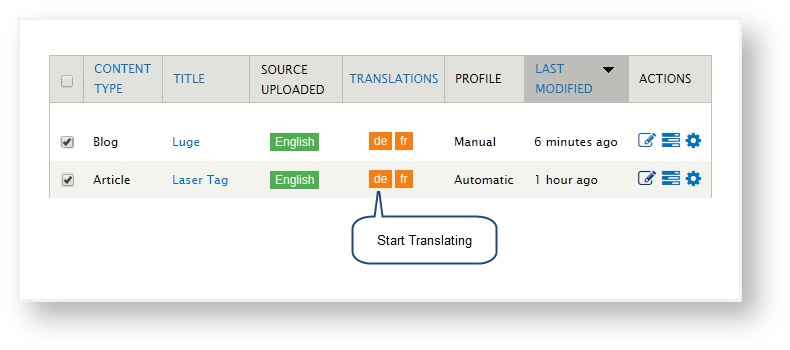 Tip: You must add a language before it will appear as a translation icon. Tip: Language icons change color, indicating status.
Statuses by Color
- Gray Outline - Unrequested. Translation has not been requested. (No translation exists).
- Orange Outline - Requested. Translation has been requested.
- Orange - In progress. Translation has been started.
- Blue - Ready to Download. Translation is complete, but has not been published.
- Green - Current. Translation is complete and published.
- Gray - Untracked. A translation exists, but it is not being tracked by Enterprise.
- Red - Error. An error occurred.
Interim Statuses- White Background / Green text – In Progress. If the translation workflow has an "interim" step (e.g. incomplete translations can be published), the icon will display in green text when the interim translation step is ready to be published.
- White Background / Blue text – Ready (interim). In Progress. If the translation workflow has an "interim" step (e.g. incomplete translations can be published), the icon will display in blue text when the interim translation step has been published live to the site.
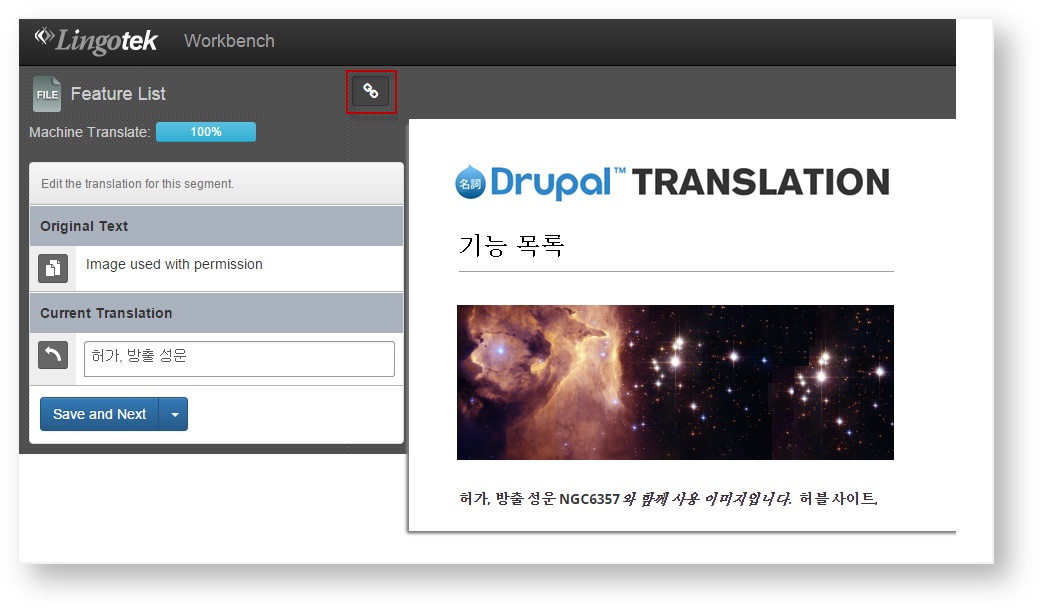
Complete the translation in the Translator Workbench.
In the Translator Workbench, enter and save the translation for each segment.
Click here for help using the Translator Workbench.In Context Review
Review translations - in context - with the Enterprise preview link.
- Download the translation to your Drupal site.
Once the node is translated, it can be downloaded to your website – manually or automatically (depending on your settings).
Instructions will follow.
Next: Translating Comments